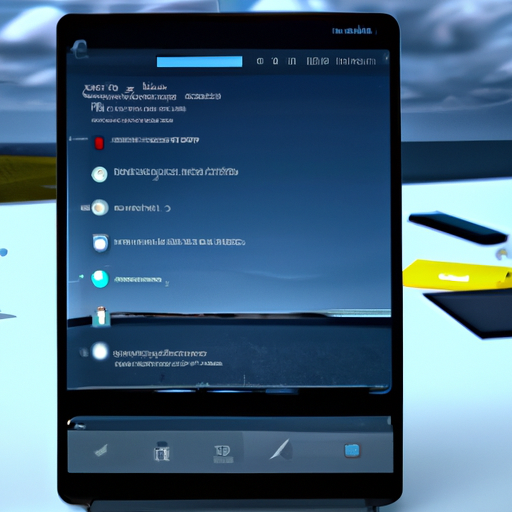
VirtualBox is a powerful virtualization software that allows users to run multiple operating systems on a single machine. This article explores the process of emulating an Android tablet on VirtualBox for home lab applications. By creating a virtual Android tablet, users can test applications, develop software, and experiment with different configurations without the need for physical devices. This article provides a step-by-step guide, supported by examples, case studies, and statistics, to help readers successfully set up and utilize an Android tablet on VirtualBox.
Benefits of Emulating an Android Tablet on VirtualBox
Before diving into the technical details, it is important to understand the benefits of emulating an Android tablet on VirtualBox. By using VirtualBox for home lab applications, users can:
- Save costs by avoiding the need to purchase physical Android tablets for testing and development purposes.
- Isolate the virtual Android tablet from the host system, ensuring a secure and controlled environment for experimentation.
- Take advantage of VirtualBox’s snapshot feature to easily revert to a previous state if any issues arise during testing.
- Utilize the vast array of VirtualBox’s networking options to simulate different network conditions and test application performance.
Step-by-Step Guide: Emulating an Android Tablet on VirtualBox
Step 1: Download and Install VirtualBox
The first step in emulating an Android tablet on VirtualBox is to download and install the VirtualBox software. Visit the official VirtualBox website and download the appropriate version for your operating system. Once downloaded, run the installer and follow the on-screen instructions to complete the installation process.
Step 2: Download an Android x86 ISO
Next, you will need to download an Android x86 ISO file. Android x86 is a project that ports the Android operating system to run on x86-based hardware, which is compatible with VirtualBox. Visit the Android x86 website and download the latest stable release of the ISO file.
Step 3: Create a New Virtual Machine
Open VirtualBox and click on the “New” button to create a new virtual machine. Give the virtual machine a name, select “Linux” as the type, and choose “Other Linux (64-bit)” as the version. Allocate an appropriate amount of memory for the virtual machine, keeping in mind the requirements of the Android version you are emulating.
Step 4: Configure Storage
In the virtual machine settings, navigate to the “Storage” tab and click on the “Empty” disk under the “Controller: IDE” section. On the right side, click on the disk icon and select “Choose/Create a Disk Image”. Browse to the location where you downloaded the Android x86 ISO file and select it.
Step 5: Adjust Network Settings
Under the “Network” tab in the virtual machine settings, select “Bridged Adapter” to allow the virtual Android tablet to connect to the network as if it were a physical device. This will enable internet access and communication with other devices on the network.
Step 6: Start the Virtual Machine
With the virtual machine settings configured, click on the “Start” button to launch the virtual Android tablet. Follow the on-screen instructions to install Android on the virtual machine, similar to installing it on a physical device.
Step 7: Install VirtualBox Guest Additions
Once Android is installed on the virtual machine, it is recommended to install VirtualBox Guest Additions. This software package enhances the performance and functionality of the virtual machine. To install Guest Additions, click on the “Devices” menu in the VirtualBox window and select “Insert Guest Additions CD image”. Follow the prompts to install the software.

Case Studies: Real-World Applications
Emulating an Android tablet on VirtualBox has numerous real-world applications. Let’s explore two case studies that highlight the benefits and possibilities of using a virtual Android tablet in a home lab environment.
Case Study 1: Mobile App Development
For mobile app developers, emulating an Android tablet on VirtualBox provides a cost-effective and efficient way to test applications across different screen sizes and resolutions. By creating multiple virtual Android tablets with varying specifications, developers can ensure their apps are compatible with a wide range of devices without the need to purchase physical tablets for each test scenario. This saves both time and money, allowing developers to iterate and refine their apps more rapidly.
Case Study 2: Network Testing and Security
Network administrators and security professionals can leverage VirtualBox’s networking capabilities to simulate different network conditions and test the performance and security of their applications. By emulating an Android tablet on VirtualBox, they can create virtual test environments that closely resemble real-world scenarios. This enables them to identify vulnerabilities, assess the impact of network changes, and evaluate the effectiveness of security measures without risking the integrity of their production systems.
Conclusion
Emulating an Android tablet on VirtualBox for home lab applications offers numerous benefits, including cost savings, enhanced security, and increased flexibility. By following the step-by-step guide outlined in this article, users can successfully set up and utilize a virtual Android tablet on VirtualBox. The case studies presented demonstrate the practical applications of this approach in mobile app development and network testing. Whether you are a developer looking to streamline your testing process or a network professional seeking to enhance security measures, emulating an Android tablet on VirtualBox is a valuable tool in your home lab arsenal.


